Note: this tutorial was written by Eliot.
Vertex Tutorial
You should read this tutorial only if you want to make other types of shapes by editing a default brush.
How we do this is with the Vertex Editing tool in UnrealEd you can find this tool left in your big bar "See icon ![]() "
"
Lets Start Learn!
- Step 1 Click the Vertex Editing Tool @inline@iconvt6zq.
- Step 2 Choose a brush type. I use Cube as an Example but you can choose whatever you want it works with all of them.
- Step 3 Go to TOP View and Zoom in to the brush so we can see the Verticles much better.
- Step 5 Now you see the small Verticles are big now so again much better to see! and to select.
- Step 6 Select one of the Verticles and hold down CTRL. Now move your mouse to the location where you want the Verticle to go while holding Left Mouse button.
- Step 7 Now you are done learning how to use the Awesome Tool.
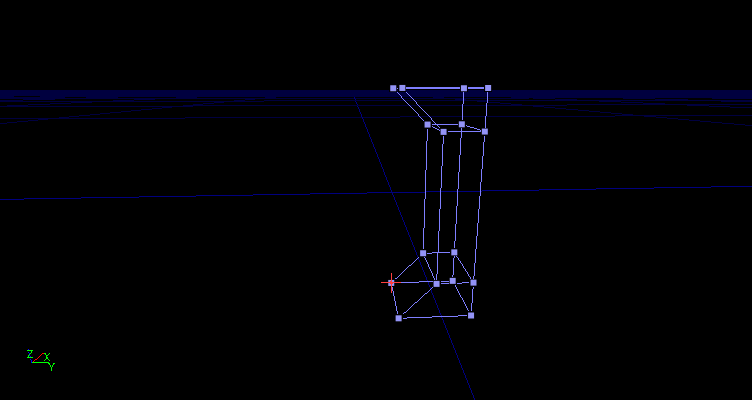
Now heres my example what i made while creating this tutorial
- Note: If u want more Verticles on your brush then you should read a 2D Editor Tutorial. for example this one 2D_Shape_Editor_Menu
Page Categories
Page Information
2022-11-18T09:09:01.951458Z
2009-12-30T10:05:49Z
Eliot
delete me, there is another tutorial for vertex editing on this wiki.
https://wiki.beyondunreal.com/Legacy:VertexToolTutorial
Attribution-NonCommercial-ShareAlike 3.0


