Depths of Rrajigar is the fourth map in Unreal's single player game.
- Author
- Cliffy B
- Description
- Travelling from the lowest levels of Rrajigar Mine, the player finds himself in a storage and distribution facility. A return to the planet's verdant surface seems to be tantalisingly close at hand...
- Note
- Not to be confused with UT2004's DM-Rrajigar.
Weapons and Items
New
- ASMD
- Energy Amplifier
Creatures and Enemies
New
- Brute
- Skaarj Warrior - First fighting appearance
Walkthrough
"the Depths of Rrajigar" takes you deeper into the bowels of the Rrajigar mining facility, then out the other side. Your situation continues to get worse, with new enemies round the corners and larger numbers of Skaarj to be eviscerated by, but you can hardly turn back now.
Starting in the corridor via which you exited level 3, go round the corner into the first area. Often a LesserBrute is on guard here, so take him out if he appears - killing him makes him drop a Health Pack. Nothing else to do here, so head for the lift on the right. Step on and step off to make it rise, then drop down the revealed hole beneath.
This useful secret area contains an ASMD directed energy weapon. Collect the ASMD, and step on to the platform in front to reurn to the main body of the level. If at this point you need any Clips, head to the start of the slightly raised section of the walkway and drop down onto the crates below where two Clips can be found. Head over to the consoles beside the red button and read the message [1].
Before activating the cart, though, jump off on to the yellow and black striped balcony to the right. From there, go to the corner and snipe at a LesserBrute who is standing in a turret further round. Return to the consoles. Press the red button and hop onto the cart which is behind and to the right of you. The cart contains Tarydium Shards if you need them. Ride it to the far balcony and climb out of the cart before it returns; collect the Health Pack here then blow up the tarydium barrels if you want but watch out for the nearby Nali. The Nali will not show you anything, but save it if you can.
Proceed along to the right to the first corner on the walkway, and dispose of the SkaarjScout that lurks on the metal crates on the left. Climb up the crates - if necessary ie the Skaarj hasn't already done it for you, use your Dispersion Pistol to knock the smallest crate down onto the crates below to act as a step. Collect the ASMD Core and the very useful Super Health Pack.
Further along, there is another red button and a message [2].
Press it and hop aboard the next cart, which will lift you up to a platform above where a LesserBrute guards a crate containing a Health Pack. Head now down the next corridor, so that you come out into a room with several walkways over lava.
First of all, dispose of the Tentacle on the right. The section of the walkway it was lurking above has Tarydium Shards and a switch that temporarily drops the walkway in the middle. This is of no use to you, so take the left walkway now. Upon turning the corner, a SkaarjScout can be seen operating a console. Don't shoot him however, shoot instead the tarydium barrel to his right and watch the amusing gibbing! The console provides a message that friend Skaarj should have heeded [3].
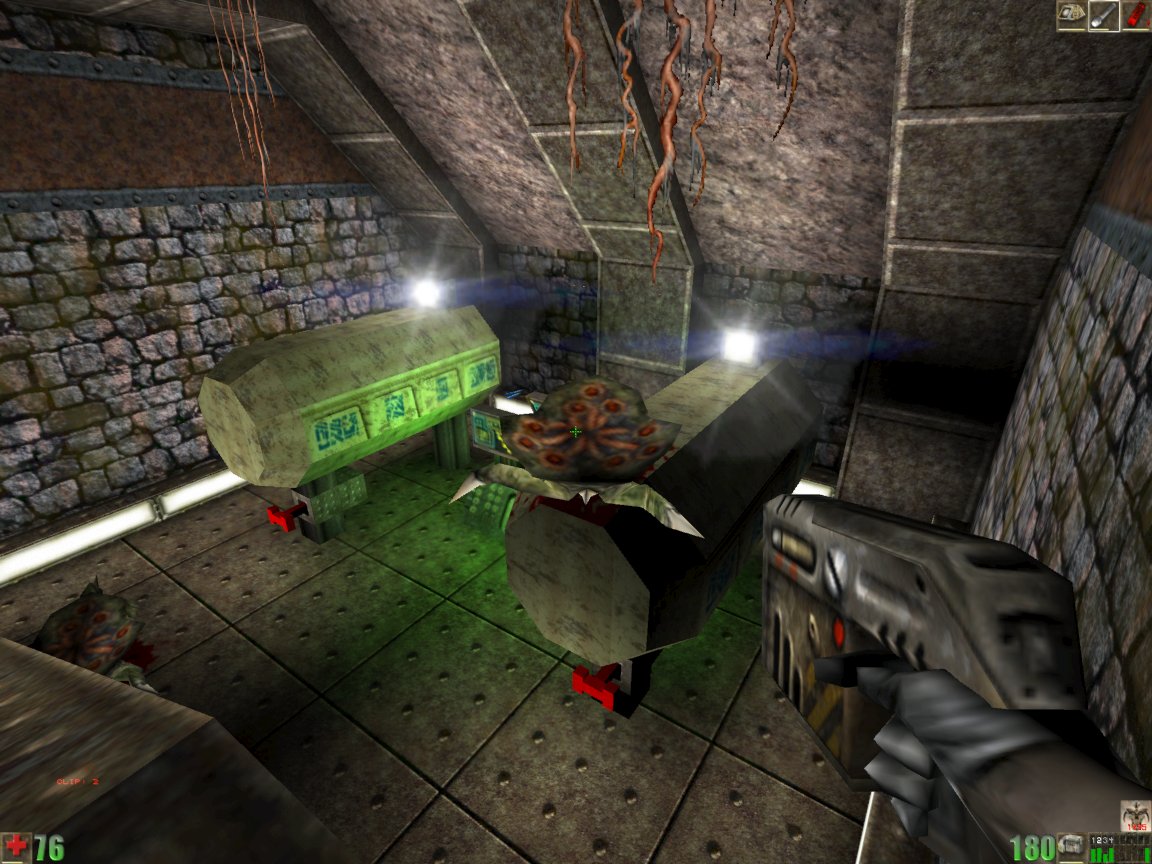
Return to the previous room and this time take the middle walkway. Follow the red corridor at the end, collecting the box of 50 Bullets from behind the barrels as you go, until you reach the next room. The next room contains a Brute. He is considerably tougher than a LesserBrute, so take him out in the way that seems best to you. As he dies, the door at the far end of the room opens. Before leaving however a wooden crate contains a Health Pack if you need it.
Take the revealed corridor, taking out a Tentacle on the way if it appears, until you reach a heavily fogged crossroads. A SkaarjScout will ambush you here so reach for your Stinger or ASMD and get rid of him. Now, having collected Health Packs from crates in the alcoves, take the corridor to the right and ride the lift to the room above.
The room at the top leads you into a storage facility, where you will be ambushed from the left by a SkaarjScout. Having dispatched him, use the raised base of the first pillar to jump up boxes and crates onto the large box, where there is a Health Pack and an ASMD Core. Another Health Pack cam be found on the floor nearby, and the wooden crate on the pillar base contains a box of 50 Bullets. Proceed to the other end of the storage facility and climb the ramp to the right. A SkaarjScout on a balcony behind you will see you and appear to do a runner, but beware because he will shortly emerge from the door in front and start hacking you to pieces. On the platform at the top of the ramp, when the Skaarj is dead, you can grab and ASMD Core and a crate contains a box of 50 Bullets. Collect what you need, then follow the next corridor until you reach a room below to the right.
Take out the Tentacles that snipe at you from this room, then go to the corner of the corridor ahead and look out along the balcony at the sealed metal doorway. You need to open this door, so return to the room where the Tentacle was and drop down to the console between the two gas pumps for a message [4].
Head round behind the has pumps and collect the Tarydium Shards. Then, press the two levers on the gas pumps. The pump starts, and the message on the console changes [5].
Climb up the ramp and return to where the door was shut before. Kill the Skaarj operating the console but be warned; this is a SkaarjWarrior, faster and more deadly than the SkaarjScouts you have fought until now.
Tip: Shoot the balcony enough and it collapses and makes a hole in the floor below. Enter the water in this hole to find two ASMD Cores and an Energy Amplifier inventory item which can be used to temporarily significantly beef up your Dispersion Pistol or ASMD.
Press the lever by the console the Skaarj was operating. Having pressed this, head back out on to the balcony and look to the left where a door that was closed before has now opened. Jump down to the door via the boxes in the middle of the room where there is a useful Shield Belt. Head through the new doorway, where wooden crates reveal an ASMD Core. Collect it if you need to, then take the corridor to the left to exit the level.
Translator Messages
- "Primary Tarydium transport cart activation unit"
- "Secondary Tarydium transport cart activation unit"
- "WARNING: Exercise caution when in the vicinity of tarydium barrels."
- "Gas Re-Routing Station Status: Doors are pressurised and locked."
- "Doors depressurised. Access permitted."
| << Previous (Rrajigar Mine) | Unreal | (Sacred Passage) Next >> |
|---|